Tuesday, July 26, 2011

Cooking with a Dragonfly

   No matter where he is, or what he his doing, a man needs to eat. That is especially true when he decides he wants to cycle over mountains carrying 80lbs of gear. As for me, I don't just eat my food, I relish it, so I need a stove that accommodates my gourmet cooking skills. I also need my stove to be light, compact, and durable. The MSR Dragonfly multi-fuel stove ended up on the top of my list and I made room for one in my budget. The kit includes the burner with folding pot-stands, a fuel pump, and folding metal base and windshield.


    The Dragonfly comes with two interchangeable jets that allow you burn any one of several fuels. The factory installed jet allows for the burning of white gas/naphtha or unleaded gasoline. The other jet burns kerosene, diesel, or aviation fuel. White gas is the purest and most preferred fuel,  white gas being essentially unleaded gas without additives. The fuel canister is not included and comes in 11, 22, and 30 oz. sizes. I have a 30 oz. can.


   The Dragonfly folds up for storage.


And when unfolded has a very sturdy pot-stand.


   Once you have filled your fuel canister with fuel, the fuel pump is inserted into the canister and sealed, then given 20-30 pumps by hand to build up pressure. A few pumps can be added during longer cooking periods to maintain the appropriate pressure.


   Next the fuel hose is connected to the fuel canister.


   Then open the valve near the burner, slowly allowing a half spoonful of fuel into the primer then close the valve. Using a flame source, ignite the fuel in the primer through the hole in the side. The fuel should burn for about a minute then begin to die out. At this point the burner should be hot enough to atomize the fuel when you open the valve and fuel exits the jet.


   The Dragonfly stove has a simmering valve that allows for fine tuning of the flame. The flame can be lowered sufficiently to simmer rice without scorching or raised to full for boiling. One of the few complaints I have heard about this stove is that when the valve is fully open the stove is very loud. I have to disagree. It does make some noise,  but nothing like I had imagined from the reviews I have read.

   So far I have cooked a single portion of my Mexican rice, and a bowl of grits. Both came out great with no scorching. I have no doubt that if I can procure the produce, I will be eating well on the road.

   Nice pot of grits simmering away.

Saturday, July 23, 2011

That's My Bag.

   When one decides to sleep in the outdoors for extended periods of time one should carry with them a  3 season sleeping bag (or quilt, if that's your thing). You have two choices for insulation in a sleeping bag, synthetic or down. Down insulation is lighter and more compressible than synthetic, and has better insulating properties. The downside to down (pun unintended) is that it loses it's insulating properties when wet, and takes a long time to dry. Down is also more expensive. I decided to tough it out ;) and get the best goose down bag I could afford. A Big Agnes Mystic SL 15 deg. Down Sleeping Bag.


   The size regular Mystic SL weighs a mere 2.3lbs. (the SL stands for super light) and is filled with 15oz. of 800 fill goose down. The mystic is a squared off mummy bag. The squaring allows for more room than a standard mummy bag.


    Big Agnes SL bags use an integrated sleeping pad system and do not have insulation on the bottom. Rather than insulation (which would compress under body weight and loose most of it's insulating properties) the bag has a sleeve that allows a sleeping pad (not included) to be inserted. The pad provides the insulation and you don't roll off the pad while sleeping.


 The bag compresses into 8" x 12" in it's included stuff sack with enough room left over in the sack for clean boxers, socks, etc. That is a 2L. soda bottle in the picture.


   I used the bag for the first time on my overnight to Cronan Ranch, but the weather being so warm, I sweated profusely whenever I tried to cover myself with it. I am a hot sleeper and this bag, combined with a good insulated inflatable pad, should keep me warm at least down to the rated temp of 15 deg. Add wool socks, and long underwear and I'm good to go in any weather I'm likely to encounter.
 

Monday, July 18, 2011

About Panniers

   Panniers are bags that mount onto your bicycle's cargo racks and allow you to carry extra gear on your bicycle. The word panniers, like many of the words and terms used in the cycling world, is a french word and translates to "bread sacks."

   I settled on a set of panniers made by Ortlieb in Germany. The Ortlieb Back and Front Roller Plus bags are touted as the most waterproof panniers on the planet. The bags are lined inside with a thermoplastic waterproof coating and the outside is made of Cordura, a supple water resistant material that will not soak up the rain.

   The Roller Plus bags come with an ingenious mounting system with tooless adjustments to allow a fit to any of the racks you may have on your rig. Once you have it adjusted properly,  just hold the bag from the handle and place it on the rack and it snaps into place. Lift the handle and the bag effortlessly detaches from the rack.


               I also opted for an Ortlieb Ultimate 5 Plus Handlebar Bag w/map case


   And an Ortlieb Rack Pack Classic in medium size. The Rack Pack Classic integrates with the Backroller bags and straps directly on top of the Backrollers.


   I am very satisfied with these bags and feel confident in storing my gear in them in whatever road conditions I may find myself in.

Friday, July 15, 2011

Overnight to Cronan Ranch. July 13-14th.

                                      
   I decided to load up the Trucker and head out for a night of camping at Cronan Ranch. Cronan Ranch is a day use park located about 2mi. east of Pilot Hill, CA and is situated between Hwy 49 and the South Fork American River. I departed at half past noon,  just as the overcast was burning off and the temperature rising. I didn't want to arrive at my destination too early, so I set out at an easy pace. The first 12.5mi. of this trip takes me to Beals Point on the western shore of Folsom Lake and is well known to me as, I train on it round trip nearly every day.


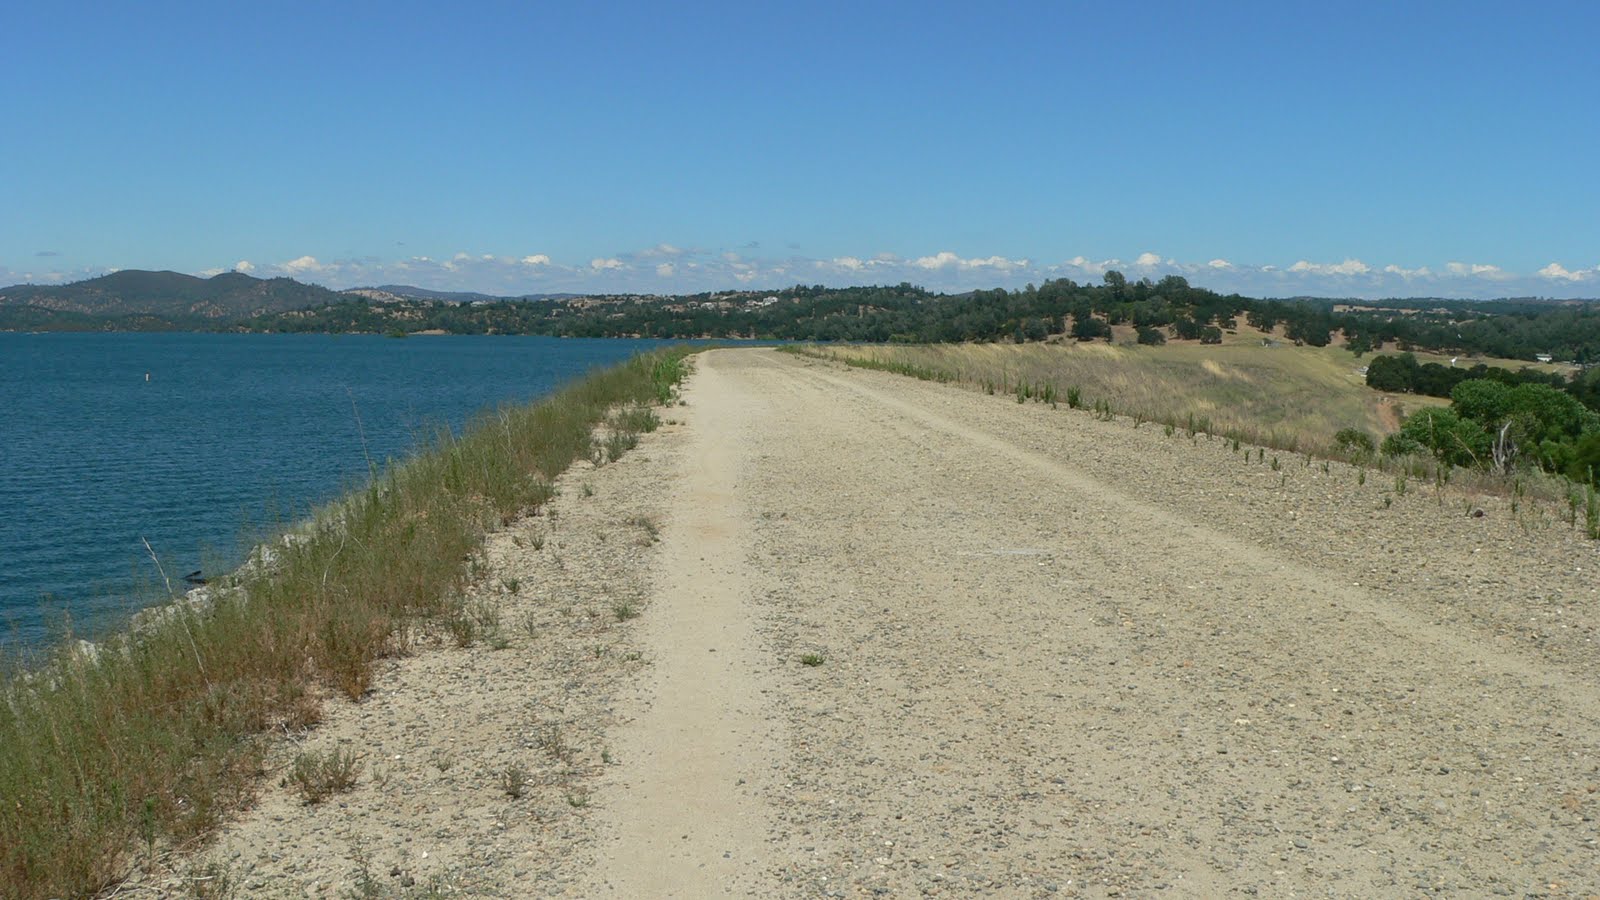
   After a short rest at Beals Point I was back on my journey taking the American River Bike Trail which goes south along the western shore of the lake then turns east to follow the southern shore. At this point the trail follows Folsom Crossing Rd. and overlooks Folsom Dam. The trail eventually dumps you off onto a sidewalk on E. Natoma St. from there it was a short little jaunt to Folsom Point State Park on the South Shore. I rode through the park and found the levee road I had researched to avoid the high traffic surface streets.


   My research paid off and the shortcut lead me to Green Valley Rd. heading east. After about 2mi. I turned north on Salmon Falls Rd. At this point the difficulty of the ride began to increase as I ascended the hills east of the lake toward Pilot Hill. So difficult that after awhile I was reduced to riding from one shady spot on the side of the road to the next one, sometimes only about a minute or two of pedaling between rests. 

   Eventually I had to stop to take a more lengthy rest. I spotted a nice old oak off to the side of the road. Upon further inspection I saw the grass was flattened by the deer that obviously rest there. I figured if it was good enough for the deer it was good enough for me. I laid out my sleeping mat and ate, hydrated, and rested for awhile. The spot was visible from the road and a few travelers in cars paused to ask if everything was OK.

   I continued on knowing that the peak was not much further, but it was with great difficulty that I finally reached it. Now I was looking at about a 6mi. descent. I whizzed down the hill reaching a top speed of 38.8mph, without turning the cranks (my all time high on this bike is 43.2mph unloaded). It was so thrilling I nearly missed my turn off onto Pedro Hill Rd. As my descent continued east down Pedro Hill the wind in my face was forcing the tears out of my eyes, but I have to admit some were tears of joy.

   Needing to resupply my water reserves, I spotted a CDF fire station and pulled off to ask for water. I found the men around back doing some laundry. Not only did they give me fresh water but also ice from their ice machine. Thanks guys, that ice was an unexpected treat.

   I finally reached my destination of Cronan Ranch at about 4:30pm and promptly laid out my sleeping pad and ate dinner and rested. There is no camping allowed on this site but being a member of the Sacramento Valley Astronomical Society gives me night use privileges for astronomical purposes. Unfortunately this applies to the gravel parking area and immediate surroundings and is not my idea of a camping spot. I awaited dusk, and when most visitors had left the park, I proceeded to walk my rig up a dirt trail that wound it's way up a high tree covered ridge. About 3/4 the way up I searched out and found a nice little spot just as it was getting dark. As I surveyed the area for the most level spot to pitch my tent, I discovered what appeared to me to be a large pile of bear poop!


   I poked at it with a stick and found it to be hard as a rock. I thought "petrified bear poop?" I turned it over with the stick and ants came pouring out from underneath. Ah, but something else was under there.


   It was a fake cement poop that hid a Hershey's kisses tin with a number of small plastic trinkets and fake coins inside. Also inside was a Ziploc bag which contained a small note pad and pencil along with a note that explained everything. What I had stumbled upon was a sort of GPS game where somebody places a hidden cache and posts the GPS coordinates on a website called geocaching.com. Then others use those coordinates to try and find it. When you find a cache you may take an item if you like but you must leave one to replace it. You also sign the little log book and then replace everything and leave the cache as you found it. Then you report the find to the website. I signed and dated the log, wrote a little note, then replaced everything as I had found it.

   In the morning I awakened to a beautiful day and took a couple of snapshots of my campsite before packing up and heading back home by the same route.


 The trip home started with a brutal 6mi. climb back up the hill I had descended the day before. Along the way up I stopped to rest and snack in the shade when I notice blackberry vines with about a 1/3 of the berries ripe. Ah, the energy I needed to complete the climb. I picked two hand fulls and chowed them down while thanking God for providing such a wonderful treat to any of the creatures of the earth who may be passing this way. The rest of the trip was fairly easy. I stopped at both Folsom Point and Beals Point to rest and eat. I arrived home at 2:30pm after a total of 76.6mi. in 27 hours.

   In summary I would have to say that it was one of the best and one of the worst times of my life.

Friday, July 8, 2011

The Bicycle

  The bicycle I have chosen for my travels is a Surly Long Haul Trucker Complete. The LHT is built from the ground up as a heavy duty touring rig. Comfortable, strong, and stable under a full load.


  The LHT is a 4130 chromoly steel frame with a component set chosen with both economy and touring in mind. The 52cm 2011 Trucker I purchased comes with strong 36 spoke 26" touring wheels ready to haul the 40-50lbs. of gear I will be carrying with me. The Low gearing will make it easier to ascend those 8,000+ft. mountain passes.

  The LHT does not come with racks so I purchased and installed Surly Nice Racks front and back to attach Ortleib panniers to.

                                                                                     
   The front rack is probably a little over built but very strong. I haven't decided what to carry on the top of the front rack, a waterproof book bag for a small library of paperbacks is at the top of my list though. I also added Shimano pedals with flats on one side and clipless on the other. The clipless sides of the pedals, contrary to their name, allow you to wear special cycling shoes that you can clip onto the pedal thus making you one with your bike. Of course you can quickly unclip in an emergency or to stop and straddle your back at a stop or wherever.

  And So you have met the Bicycle, my Stead. The name I have chosen for my steel horse is Endeavor in honor of the Space Shuttle Endeavor. I took Endeavor the bicycle into my possession on May 30th. 2011 during The Space Shuttle Endeavors final mission, the shuttle landed on Earth for the final time on June 1st. 2011.


  Pictures taken 7/8/2011 Beals Point, Folsom Lake CA

Tuesday, July 5, 2011

What is a Hobo?

 A hobo is not, as many people may think, a traveling bum who rides trains. The term hobo actually refers to a type of migratory worker. The term came to be widely known in the US in about the 1890's and was used to refer to the growing number of migrants who took advantage of the burgeoning  railroad system to migrate across the country. They often financed their travels with whatever work they could find, the journey itself being the objective for many. They had their own "Code of Honor" and felt themselves above both the tramp ( a fellow traveler who avoided work if possible) and the sedentary bum. The term hobo may have come from the french "hobereau"  which translates to "gentleman of the country" and may have been introduced by French-speaking migrants during the 19th century or earlier.
   So knowing all this I can take on the moniker of Bicycle Hobo with a sense of pride and history.

Welcome to Bicycle Hobo

Here I will chronicle in words and pictures, my life & adventures as a bicycle hobo as I travel through this Great Country.